If you’re wondering whether it’s possible to recover data from an SSD drive, then we have good news for you: yes, you can undelete data lost from an SSD—at least in most cases. And we’ll show you how.
This article was visited by over 11.5 thousand people last year and received a LOT of positive feedback, indicating that the solution we outlined works. Keep reading.
First, we’ll cover the potential roadblocks and challenges you might encounter during SSD recovery. But if you’d rather skip the technical details and jump straight to the recovery steps, you can move ahead and jump straight to How to Recover Data from an SSD on a Windows PC.
Is SSD Data Recovery Even Possible?
Contrary to what some online guides would make you believe, SSD data recovery is really possible, but your success rate can vary greatly depending on whether you have the TRIM command enabled.
When enabled, the SSD TRIM command allows your operating system to inform the SSD that unused data can be wiped internally. This is done to speed up subsequent write operations and thus increase the overall performance of the SSD.
Because it’s up to the operating system to send the TRIM command, trimming typically doesn’t happen after a power failure, software error, file system corruption, sudden partition loss, and other common causes of data loss. (However, it can still happen once the system is back online and recognizes free blocks.)
As long as you begin the recovery process soon enough before the TRIM command has a chance to trigger, you should be able to get your data back without major problems—as long as you use a reliable SSD recovery application.
Here’s some reassuring information: TRIM usually isn’t enabled on external SSDs when connected over USB in Windows (but some modern enclosures, especially those using the UASP protocol, and newer Windows releases can pass TRIM to external SSDs).
3 Key Steps to Increase Your Chances of Successful SSD Recovery
As we’ve already explained, SSD recovery is often possible without going through extra steps, but there are several things that you can do (or avoid doing) to increase your recovery chances:
- 🛑 As soon as you notice data loss, unplug the SSD right away to avoid overwriting any recoverable data. Use an adapter to connect the SSD as an external drive to another computer for recovery. This keeps TRIM from permanently erasing the lost data.
If you don’t have another computer or this feels like too much work, especially if it’s your only drive (the system drive), you can try to disable TRIM temporarily.🔗
Check out this guide on How to Disable TRIM for step-by-step instructions.
- 🧰 Download/install data recovery software on a different drive. If you don’t have data recovery software installed on your computer already, then avoid installing it on the SSD that contains your missing files. Why? Because you could overwrite them and make them impossible to recover. For the same reason, we always recommend having at least one data recovery application installed on the system drive. That way, you can simply fire it up when you experience the loss of important files and begin their recovery without any delay. But not everyone has this option. If you only have one drive but multiple partitions, download/install the recovery software on a partition that doesn’t contain the lost or deleted data. If you only have one drive and one partition (and no external drives), go ahead and install the software on it anyway—it’s still better than doing nothing. Of course, unless you’re ready to connect your drive to another computer as an external one.
- 🏆 Use the best SSD recovery software available. Since SSD recovery is a time-sensitive process, you may have just one chance to undelete your files. That’s why you should always use the best SSD recovery software available, even if it means spending some money.
How to Recover Data from SSD on a Windows PC
Regardless of whether the TRIM command is enabled or not, you can perform SSD file recovery with the same data recovery software you would use to recover files from a traditional hard drive. Disk Drill Data Recovery is an excellent choice because it’s exceptionally easy to use and supports all commonly used Windows file systems (NTFS, FAT32, exFAT, & others) and file formats. Here’s how to retrieve data from your SSD drive using Disk Drill:
-
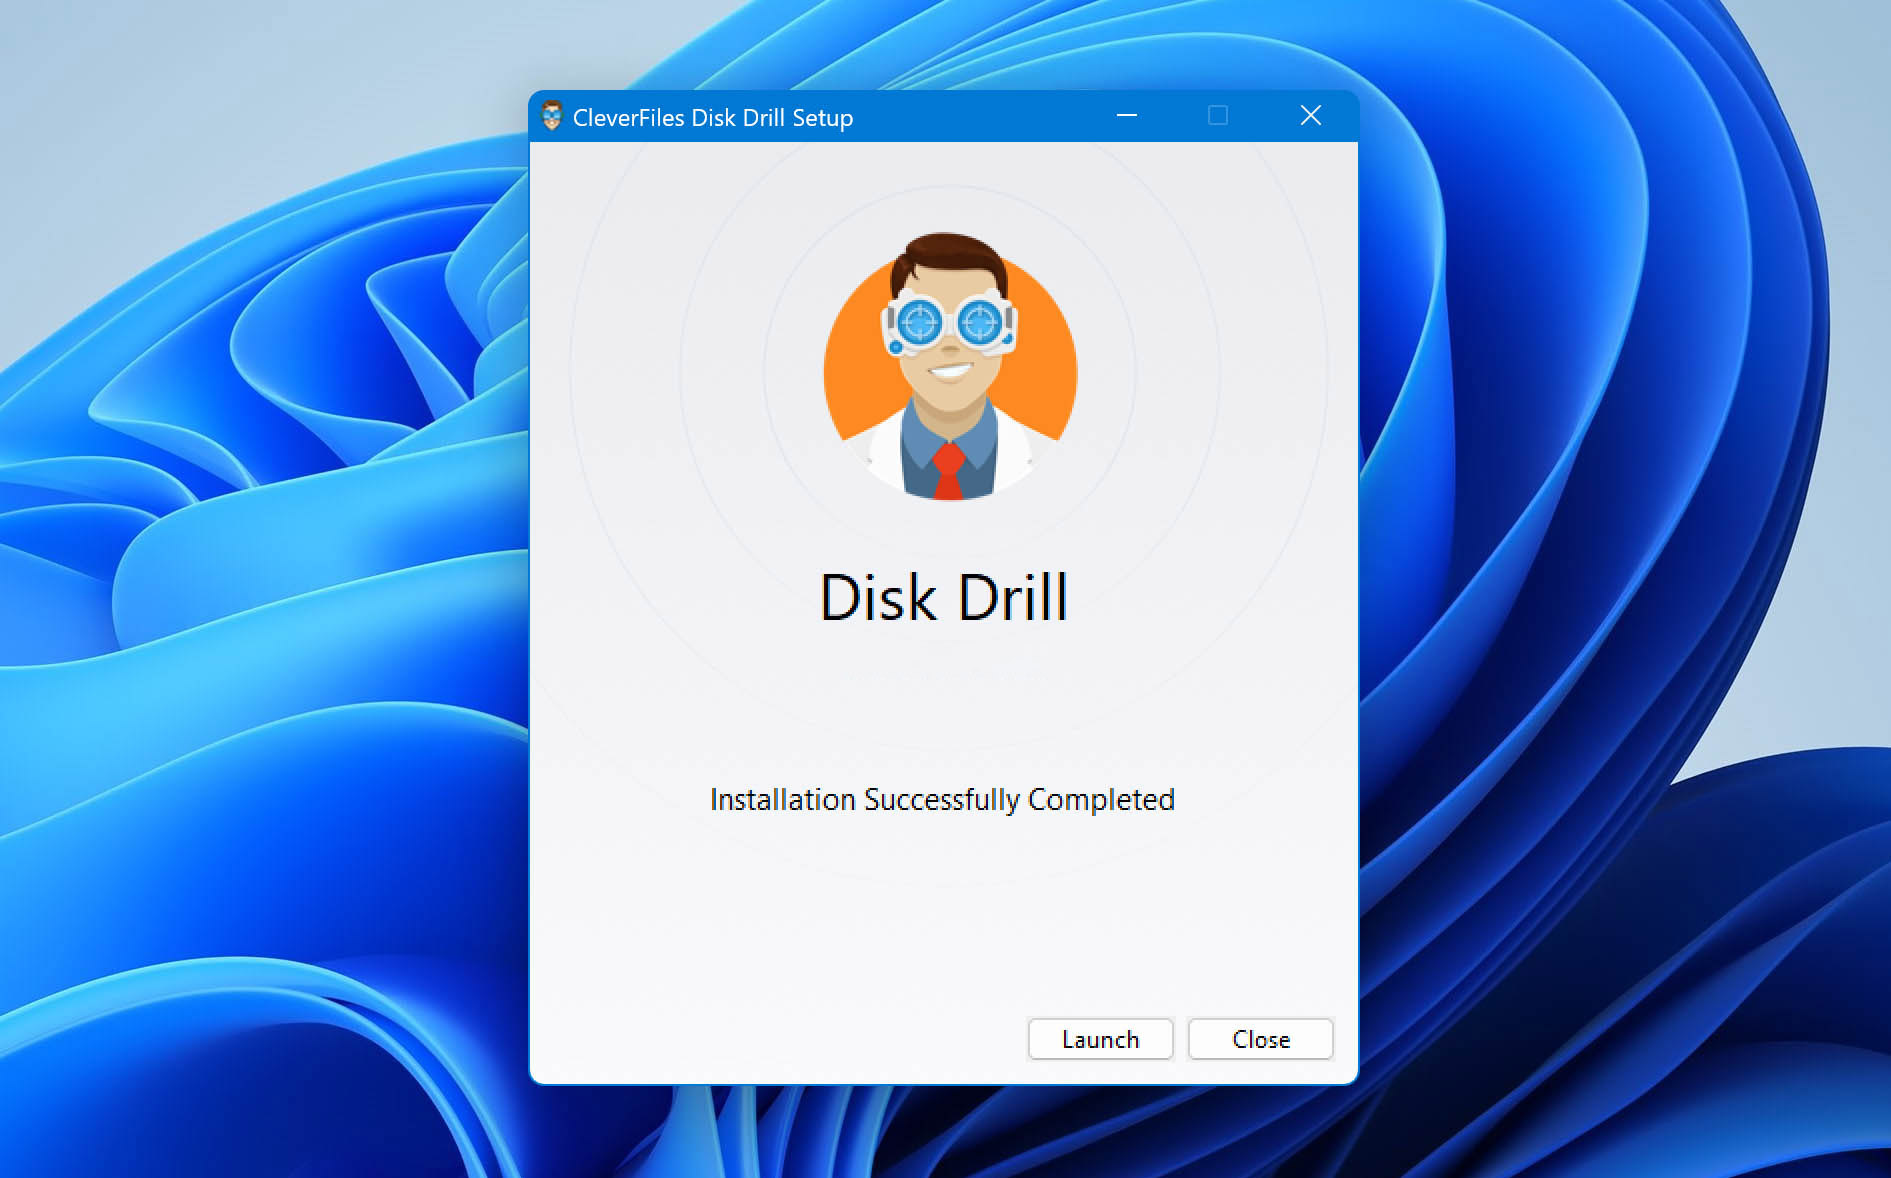
Download, Install, and Launch Disk Drill:
The Windows version of Disk Drill can be downloaded for free from its official website and used to recover up to 500 MB of data. To recover an unlimited amount of files from SSD, you can upgrade to Disk Drill Pro at any time.

-
Select Your SSD and Click Search for Lost Data:
Once launched, Disk Drill will list all available storage devices, allowing you to select your SSD. To begin the recovery process, click the Search for lost data button. Disk Drill will first perform a Quick Scan, followed by a Deep Scan, to locate as much recoverable data as possible:
- Quick Scan relies on file system records and locates files that were recently deleted, such as those removed using Shift+Delete or from the Recycle Bin.
- Deep Scan is more advanced method; it searches for file system records, even if they are damaged. While it may not always recover original file names or folder structures, it’s highly effective in complex situations, such as data recovery from formatted drives, drives with damaged file systems, or disks that appear as RAW.
- There’s also the Signature Scan, which is part of the Deep Scan process. This method is designed for the most extreme cases, where the file system is completely gone, and the only way to identify files is by their unique signatures.

-
Review Recoverable Files:
As Disk Drill scans your SSD, you can either wait for the process to complete or click the Review Found Files button to check what’s been discovered so far. You can also click the Recover All button to restore everything found during the scan, or choose a specific category like Pictures, Videos, or Documents to filter results by type. You can refine it even further by selecting specific formats, like JPG or BMP, for a more focused recovery.
Disk Drill can preview all multimedia file formats supported by the Windows operating system or those for which you have a third-party viewer installed. When a file can be previewed, it virtually always means that it can also be successfully recovered, so make sure to take advantage of this feature when deciding which files to recover.
👀You can also check the Recovery Chances displayed next to each file. As shown in our snapshot, many files are marked with a High status, indicating a strong likelihood that the file will be fully intact after recovery.

-
Select Files You Want to Recover:
To add files to your recovery queue, simply click the checkbox next to each file you want to recover. You can use the scan results filters on the left to narrow down the number of recoverable files.

-
Click the Recover Button and Specify the Recovery Folder:
Finally, click the Recover button to “undelete” all selected files. Disk Drill will ask you to specify the folder where you want to recover your files, and you should always pick a folder located on a different storage device than the one you’re recovering from to avoid overwriting.

Disk Drill is an excellent choice for SSD data recovery, with broad support for all major brands like Samsung, WD, and Crucial. It also handles various data loss scenarios, whether it’s a simple deletion or a formatted SSD.
By the way, if you’re using a macOS, Disk Drill can recover data from an SSD on a Mac too. However, unlike the Windows version, the free Basic version on Mac only lets you scan and preview recoverable files. You can learn more about the Mac version in this review.
Before the last update, this article included a brief section on malfunctioning SSDs. However, given that this topic warrants more in-depth coverage than can be adequately addressed within a single section, we have decided to remove it. Instead, we encourage you to explore our other resources dedicated to various SSD-related issues.
Here’s a quick list of solutions for the most common SSD problems:
How to Disable TRIM
To disable TRIM on Windows, you’ll need to use Command Prompt. Follow these steps:
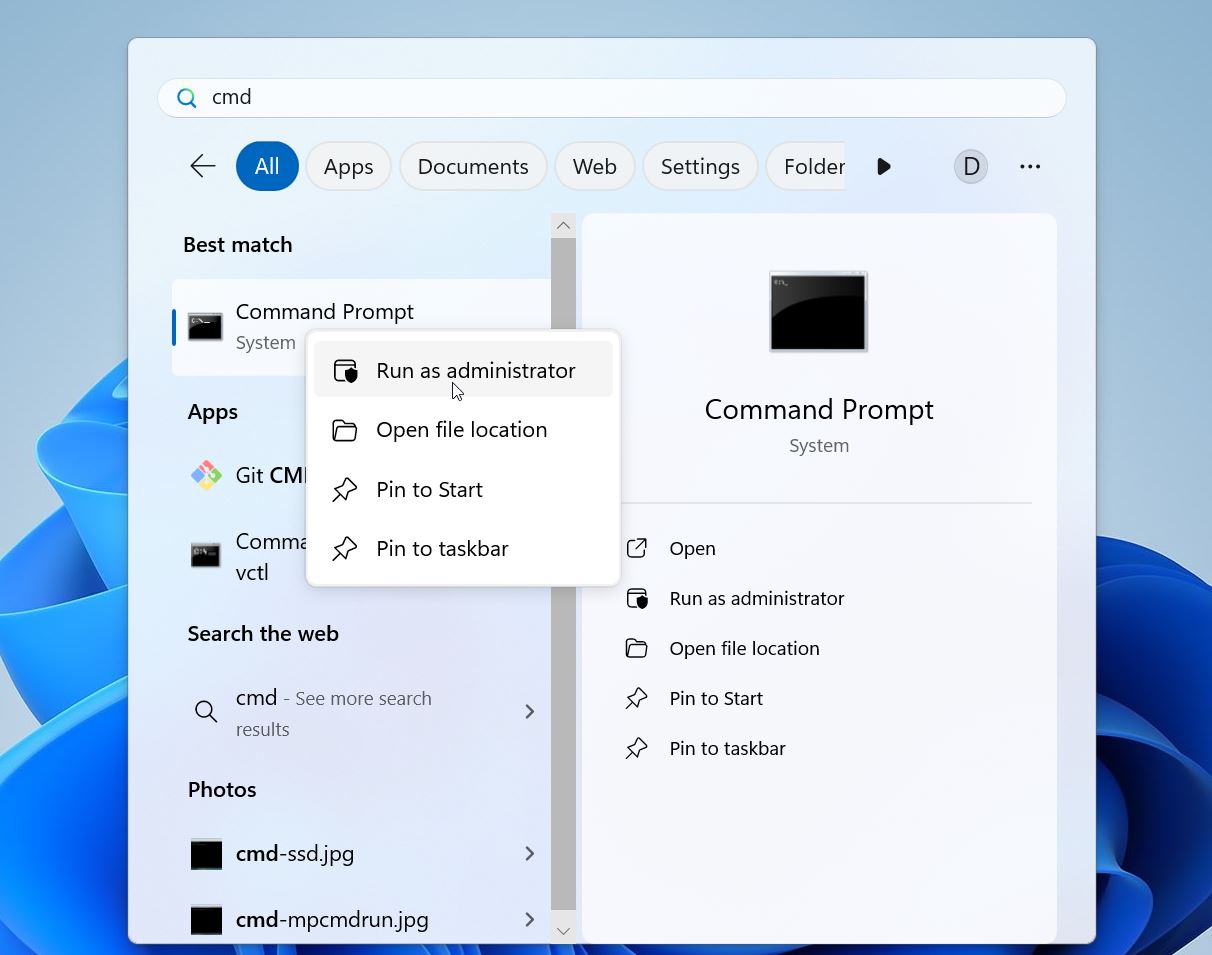
- Open the Start Menu and type cmd.
- Right-click on Command Prompt and select Run as administrator.

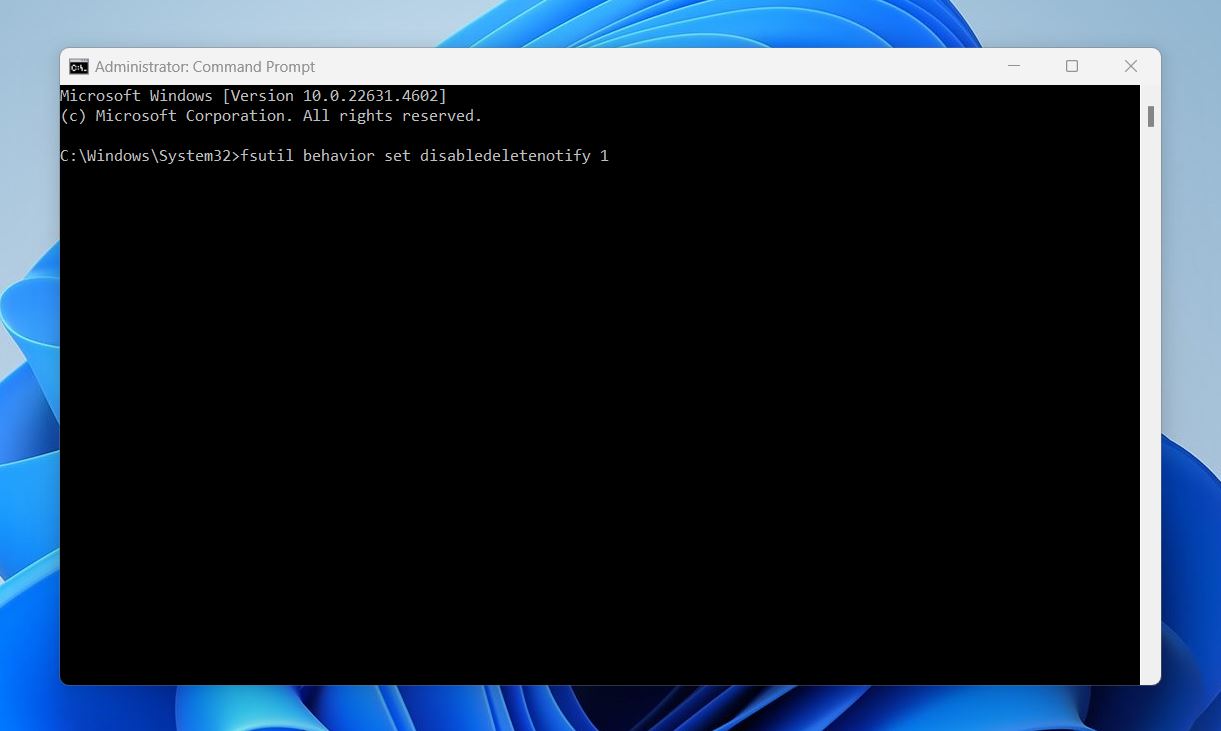
- In the Command Prompt, enter this command:
fsutil behavior set disabledeletenotify 1

- Press Enter. You’ll see a confirmation that TRIM has been disabled.
To re-enable TRIM later, use the same command with 0: fsutil behavior set disabledeletenotify 0
Things to know about TRIM:
- Some systems may need a restart for the change to take effect.
- This command applies globally to all SSDs connected to the system.
- Disabling TRIM doesn’t guarantee file recovery but increases the chance of success before data is overwritten. Pair this step with reliable recovery software.
- If you leave TRIM disabled for too long it can slow down your SSD and shorten its lifespan.
When Should I Let Professionals Recover My Data?
DIY-style SSD data recovery applications like Disk Drill are not your only option when it comes to recovering from seemingly desperate data loss situations. You can also ship your SSD to a professional data recovery service and let experts take care of everything for you. But should you? Well, that depends on the type of data loss you’re dealing with:
- 😬 Accidental deletion → use SSD data recovery applications
- 👻 Partition loss → use SSD data recovery applications
- 🗑️ Formatting → use SSD data recovery applications
- ⚠️ Data corruption → use SSD data recovery applications
- 👊 Physical damage → ship your SSD to a professional data recovery center
- 📛 Firmware failure → ship your SSD to a professional data recovery center
- 👾 Ransomware attack → ship your SSD to a professional data recovery center
While it’s true that DIY-style SSD data recovery applications like Disk Drill are always more affordable than professional data recovery services, the best data recovery services offer a free price estimate and charge only for recovered data, so you can rest assured, knowing you won’t end up several hundred dollars poorer without gaining anything in return.
Final Words
If you’ve hit obstacles during your SSD recovery efforts or have more questions, don’t hesitate to reach out to our online community. Members of our team and fellow readers are always happy to offer additional tips and guidance. You can also try other online resources like Reddit’s r/datarecovery or r/DataRecoveryHelp. With thousands of active members, these forums can be a great place to find support. Just make sure to provide as many details as possible about your setup, the steps you’ve taken, and the issues you’re facing to get the most helpful advice.
Interesting fact: The SSD market is growing at a much faster pace than traditional HDDs, and this trend isn’t slowing down. For instance, the global solid-state drive market is projected to grow from USD 17.79 billion in 2024 to USD 82.22 billion by 2032, exhibiting a compound annual growth rate (CAGR) of 21.1% (source). In contrast, the hard disk drive market is expected to grow at a much slower CAGR of 2.10% from 2024 to 2031 (source). With more new computers and laptops coming with SSDs every year, it’s clear that SSDs are taking over as the go-to storage option.
FAQ
How does SSD store data?
The way SSDs store data is fundamentally different from traditional spinning hard drives, which rely on a series of spinning magnetic disks, also known as platters. When you open an SSD, you’ll find multiple NAND flash memory chips. These chips consist of a large number of floating-gate transistors, which can be electrically erased and reprogrammed.
Because floating-gate transistors are electronically isolated from other components, they retain an electrical charge even without a steady supply of power, which is why you can store data on an external SSD for years without any loss of information.
Is it harder to restore data from SSD?
Not really. The process itself is simple enough. It’s just that the TRIM command, which SSDs use to proactively wipe unused storage space clean to increase the performance of subsequent write operations, often makes SSD data recovery impossible.
How much does SSD data recovery cost?
That’s a difficult question to answer because there are many factors that come into play, including the type of data loss scenario from which you’re trying to recover. Generally speaking, you can expect to spend anywhere from around $100 to several thousand on SSD recovery with professional data recovery services.
If you go with DIY-style you might recover your data for free. For example, Disk Drill, which we covered earlier, has a free version that lets you recover up to 500 MB of data without paying anything.
How do I get data off an old SSD?
First, connect the SSD to your computer. You can do this either directly to your motherboard using a SATA slot or as an external drive using an adapter. Once connected, check if the drive is detected—it should appear in Disk Management with the correct size.
If the SSD is visible, here’s what you can do:
- If you can see the drive in File Explorer, simply copy and paste your files to a new drive.
- If the SSD is detected but inaccessible, use a data recovery tool like Disk Drill to scan the drive. Disk Drill can retrieve all stored data, including files that were deleted or lost.
If the SSD isn’t detected, check out this guide on how to fix an SSD not showing up in Windows for troubleshooting steps.
Are SSD file recovery software safe to use?
Yes, SSD file recovery software is generally safe to use, provided you choose reputable tools from trusted developers. The tool we chose for this article, Disk Drill, was extensively tested by our team and found to be completely safe.
How to recover data from SSD that won’t boot?
The simplest way to recover data from a system SSD that no longer boots is to disconnect it from your computer and connect it to a different one. You should then be able to scan it with your favorite SSD recovery tool and recover lost data without any problems—provided the SSD is physically intact.
How to transfer data from HDD to SSD?
Even though HDDs and SSDs rely on two completely different storage technologies, you can easily transfer data between them because your operating system takes care of all the technical stuff that happens under the hood for you.
That said, it’s a good idea to use a data migration software application when transferring a lot of data from one drive to another, such as Samsung’s Data Migration software, WD SmartWare, or Intel Data Migration Software.
How long does it take to recover data from an SSD?
The time it takes to recover data from an SSD depends on several factors:
- Larger SSDs take longer to scan and recover data.
- Recovering a few files is faster than retrieving an entire drive’s worth of data.
- If the SSD is in good condition, recovery is typically faster. Drives with errors or damage may require more time.
- Faster connections like NVMe can significantly reduce recovery time compared to slower interfaces like SATA or USB 2.0.
- If the disk has been formatted or used with multiple file systems, recovery can take longer.
On average, recovery can take anywhere from a few minutes to several hours.
How to restore SSD to factory condition?
Without the use of the TRIM command, which allows the operating system to inform an SSD that certain data stored on the drive are no longer needed, the performance of SSDs degrades noticeably with use. While modern operating systems like Windows 10/11 enable TRIM by default, older operating systems don’t support this command at all.
The good news is that SSDs support a feature called Secure Erase, which marks all storage space as empty to restore any SSD to factory condition. Most major SSD manufacturers provide a free software utility with support for Secure Erase, including Samsung, Western Digital, and Seagate.
Can I recover data from an encrypted SSD?
To recover data from an encrypted drive, you must have access to the encryption key or password. Without it, the data remains inaccessible.
Can data recovery software recover overwritten files on an SSD?
Unfortunately, data recovery software cannot recover overwritten files on an SSD—or any other type of storage. Once a file is overwritten, the original data is permanently replaced with new information. Even professional data recovery centers cannot retrieve overwritten files.
This article was written by David Morelo, a Staff Writer at Handy Recovery Advisor. It was also verified for technical accuracy by Andrey Vasilyev, our editorial advisor.
Curious about our content creation process? Take a look at our Editor Guidelines.
